Description
This time we are going to perform a system that executes specific tasks according to the communication between two XBee. As usual, we are dividing this practicaL exercise into two parts. The first one will show you how to configurate the XBee modules and the Arduino in order to blink a LED at the receiver part. The second part extends that functionality, so we are going to create a Morse code player, which reproduces the characters introduced on the sender side into Morse. To coordinate all this stuff we are going to use Python code with XBee libraries on the sender side.
So, the material that we are going to need is exposed below:
- Hookup wires.
- 1 x Arduino board.
- 1 x USB A-to-B cable for the Arduino.
- 1 x XBee radio configured as ZigBee Coordinator API.
- 1 x XBee radio configured as ZigBee Router API.
- 1 x Breakout board.
- 1 x USB cable for the XBee.
- 1 x LED.
- 1 x Buzzer for output.
The software that you will need to support all this is:
Part 1
The first thing we must do is to install and configure python and the needed libraries for our purpose. After downloading the Python we should see a wizard like the shown on the image below:
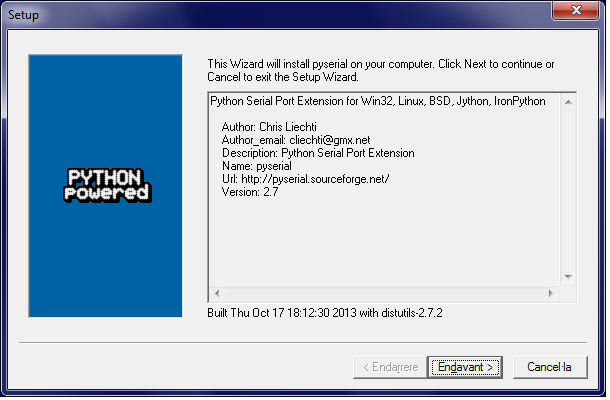 |
| Figure 1: Python Wizard |
You only have to follow the steps and install it. If you want to execute Python programs with "cmd" tool you should add the directory of the Python to the "path" variable (System > Advanced system settings > Environment variables > System variables > Path ). After doing that you should see the Python version at cmd by typing "python":
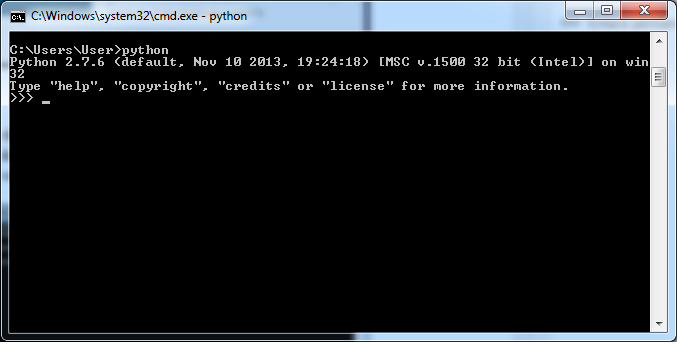 |
| Figure 2: Python installation and configuration check |
To complete the configuration of the system we must install the XBee and PySerial libraries by the following way:
- Download the XBee library from the given link (if you have problems with it you can go to the 2nd link and pick the version that suits better to you computer).
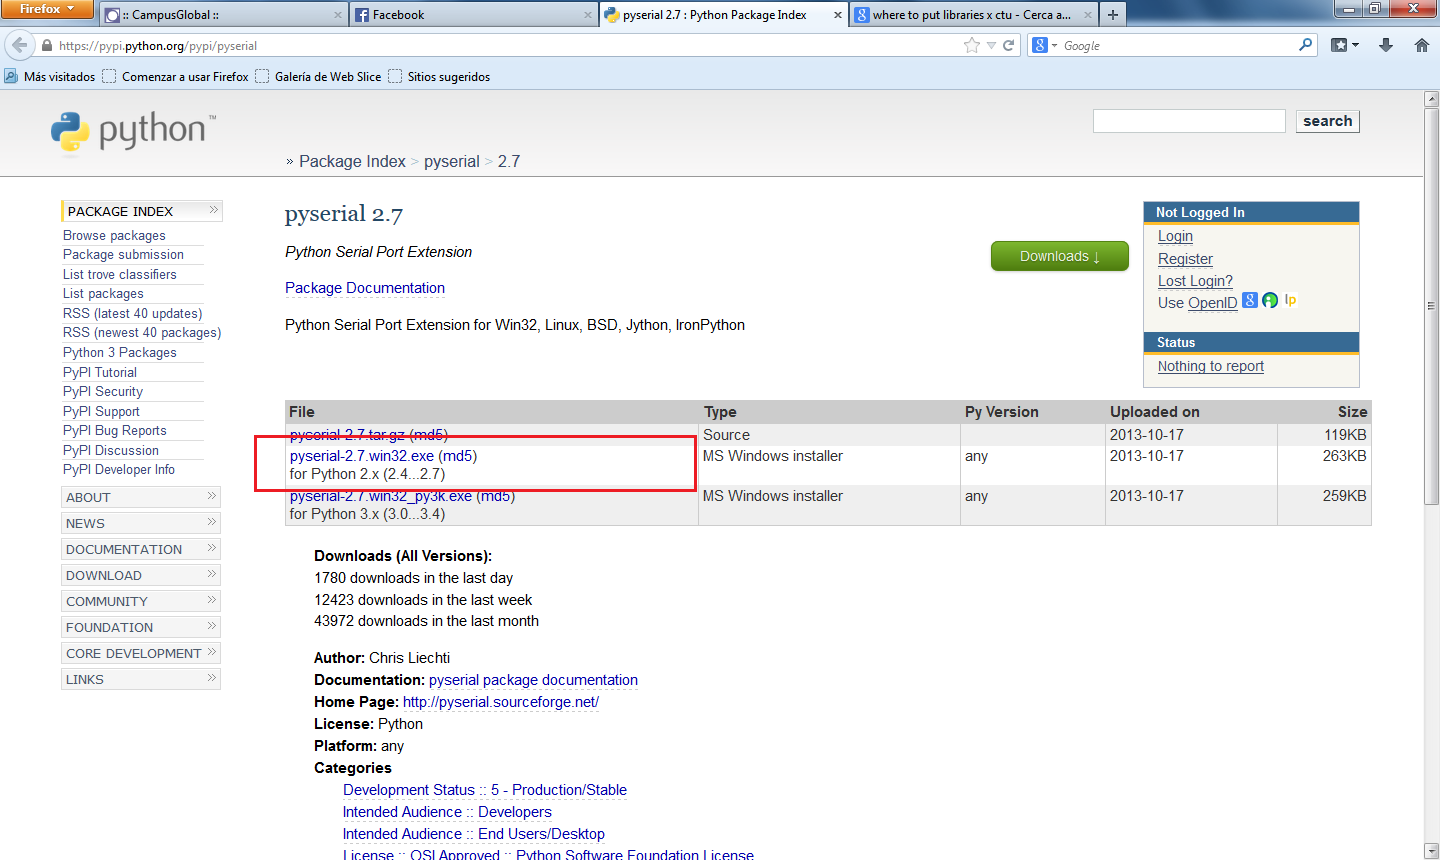 |
| Figure 3: XBee library download |
- Install it by typing "python setup.py install" on the directory where you stored it (C:\Users\User\Destop\XBee-2.1.0 in our case):
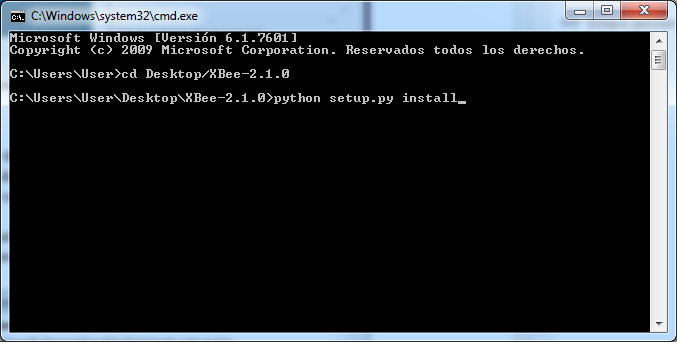 |
| Figure 4: XBee library install |
- Download the "pyserial" library and to exactly the same to install it.
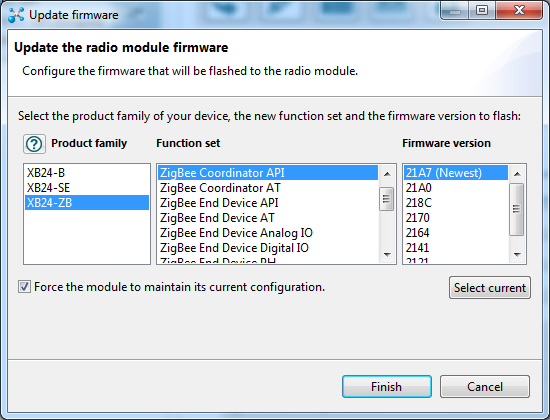
Now we have the software properly installed, but the last thing we must do before building the circuit and implementing the code is to set the XBee modules on the API mode. For the coordinator we set it as "ZigBee Coordinator API":
 |
| Figure 5: XBee mode |
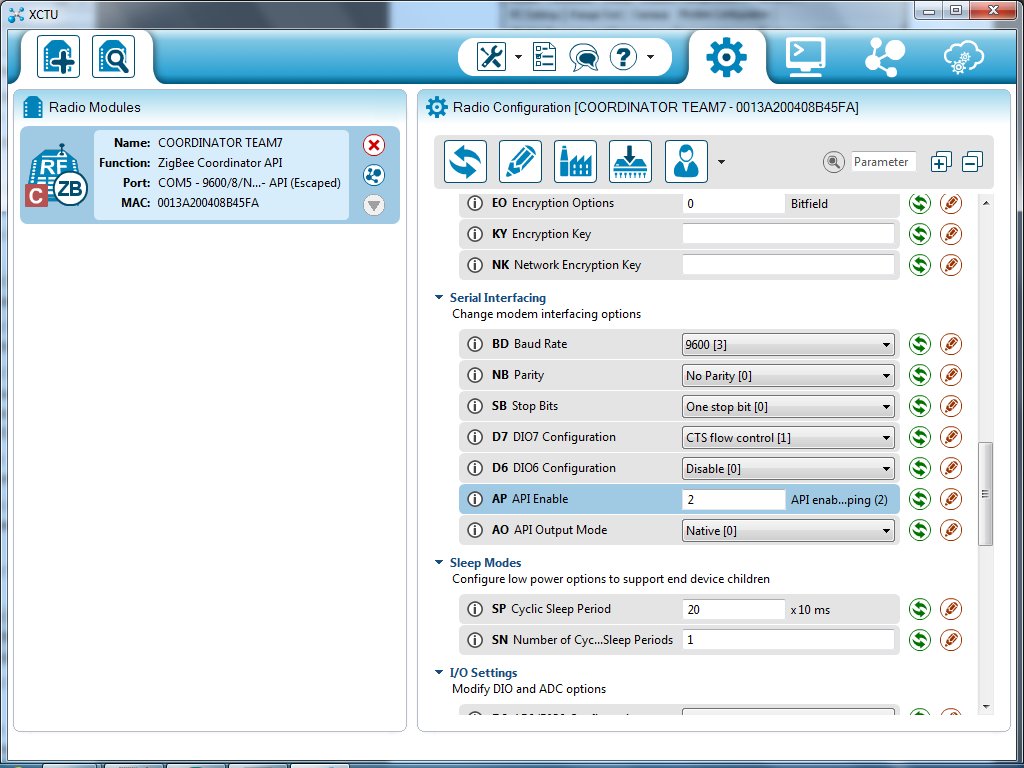
We do the same for the router ("ZigBee Router API"). We also have to enable the API mode at both XBee by setting the "AP" field with number 2.
 |
| Figure 6: Enable API mode |
|
The circuit that we have to build by now is quite simple: a LED connected to the D1 port of the XBee (note that in this case we only use the arduino to feed the XBee):
 |
| Figure 7: Circuit part 1 |
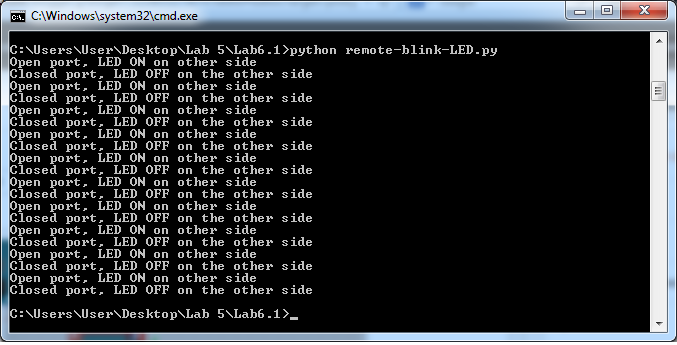
The code that we must implement on the sender side will send packets to the receiver XBee (we can also send broadcast packets on the same PAN ID with dest_addr_long='\x00\x00\x00\x00\x00\x00\xFF\xFF') that will enable and disable the D1 port in order to let the current path and activate the LED. We also have to take into account in which port we have placed the XBee (COM5 in our case).
To execute it we go to the directory where it is placed and we type "python nameOfTheFile.py"
 |
| Figure 8: Code execution |
Code Part 1 [3]
 1
 2
 3
 4
 5
 6
 7
 8
 9
10
11
12
13
14
15
16
17
18
19
20
21
22
23
24
25
26
27
28
29
30
31
32
33
34
35
36
37
38
39
40
41
42
43
44
45
| #! /usr/bin/python
from xbee import ZigBee
import serial
import time
ser = serial.Serial('COM5', 9600)
xbee = ZigBee(ser, escaped=True)
while True:
try:
xbee.send('remote_at',
frame_id='A',
dest_addr_long='\x00\x13\xA2\x00\x40\x8B\x45\xC8',
dest_addr='\xFF\xFE',
options='\x02',
command='D1',
parameter='\x05')
print("Open port, LED ON on other side")
time.sleep(5)
xbee.send('remote_at',
frame_id='A',
dest_addr_long='\x00\x13\xA2\x00\x40\x8B\x45\xC8',
dest_addr='\xFF\xFE',
options='\x02',
command='D1',
parameter='\x04')
print("Closed port, LED OFF on the other side")
time.sleep(5)
except KeyboardInterrupt:
break
xbee.send('remote_at',
frame_id='A',
dest_addr_long='\x00\x00\x00\x00\x00\x00\xFF\xFF',
dest_addr='\xFF\xFE',
options='\x02',
command='D1',
parameter='\x04')
ser.close()
|
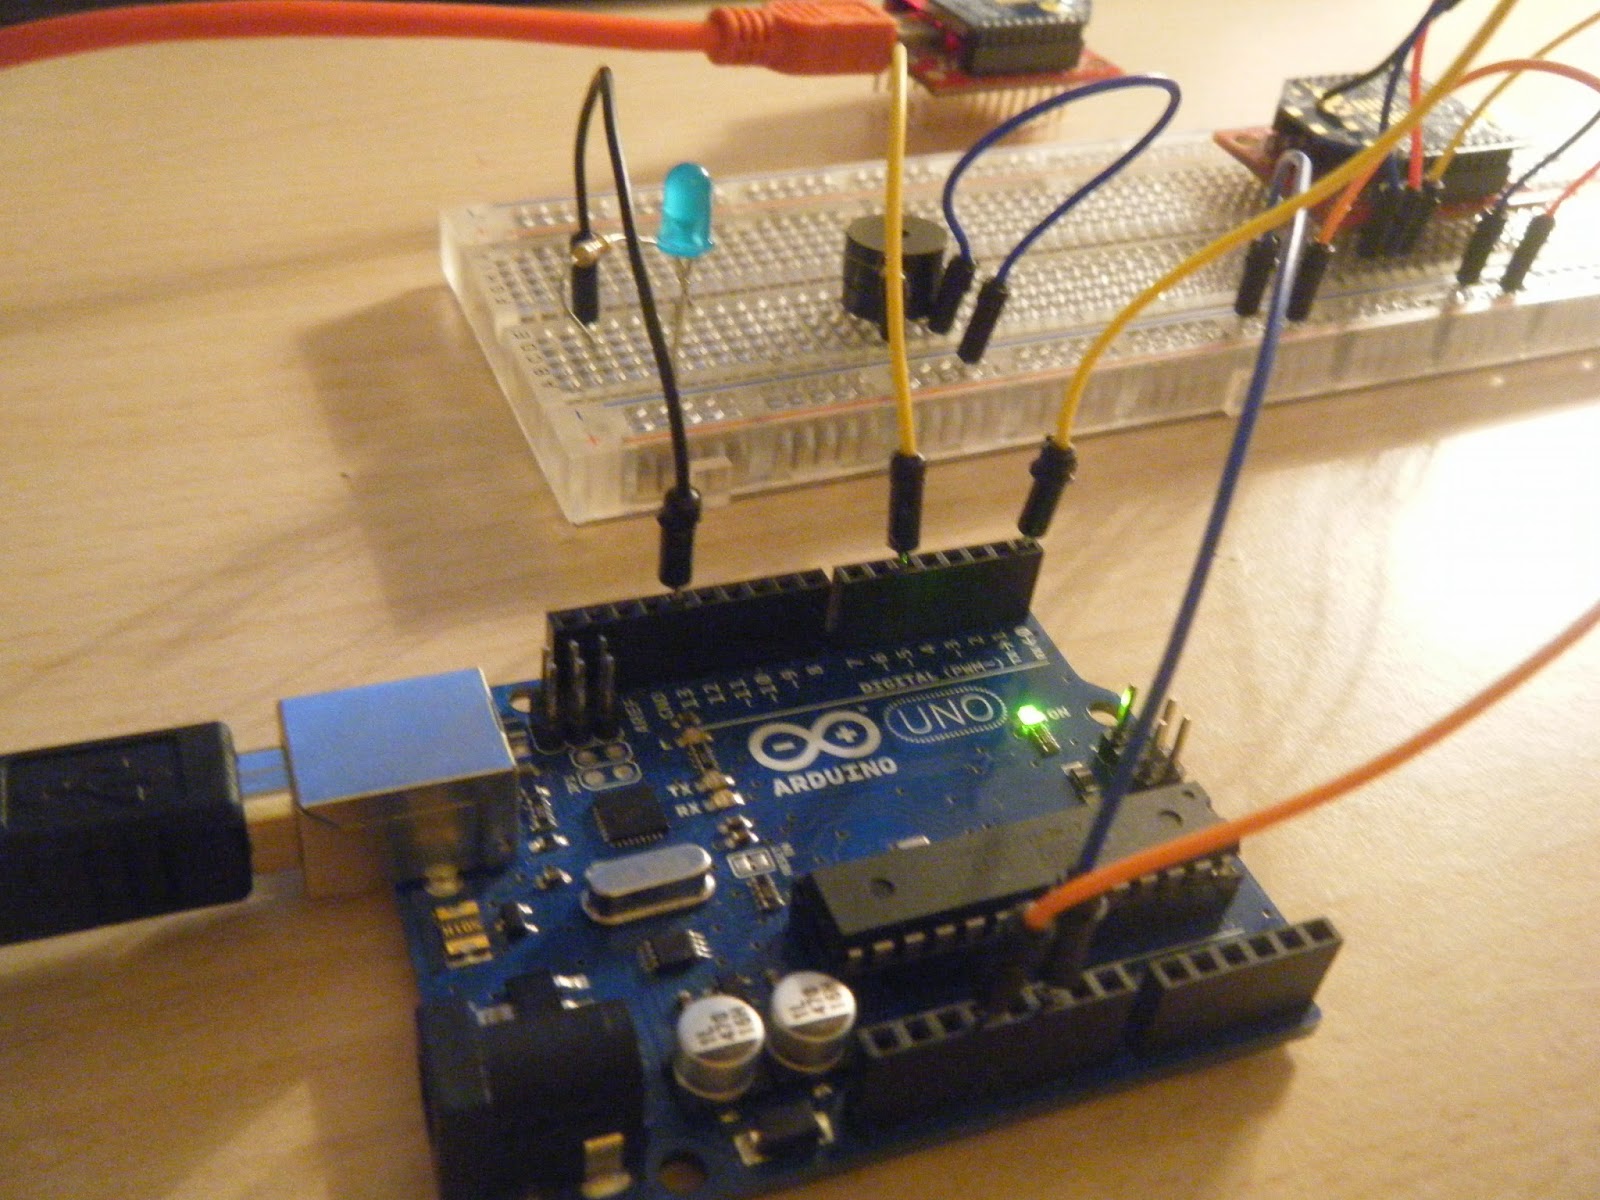
Images Part 1
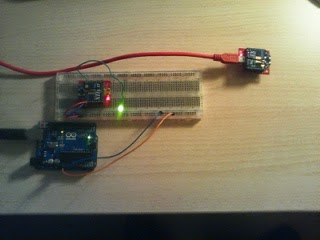 |
| Figure 9: Image Circuit Part 1 |
Part 2
In this second part we are going to change a bit the implementation of the sender side and we are going to add functionalities that the Arduino must implement in order to play the received characters in morse code. The figure below shows the International Morse Code, which we used at the Arduino code for the player:
 |
| Figure 10: International Morse Code [4] |
|
|
|
We have the same scenario as in part 1, but we have added a LED and a buzzer, which are connected to the Arduino in order to process the information received from the XBee (which receives the characters from the sender XBee).
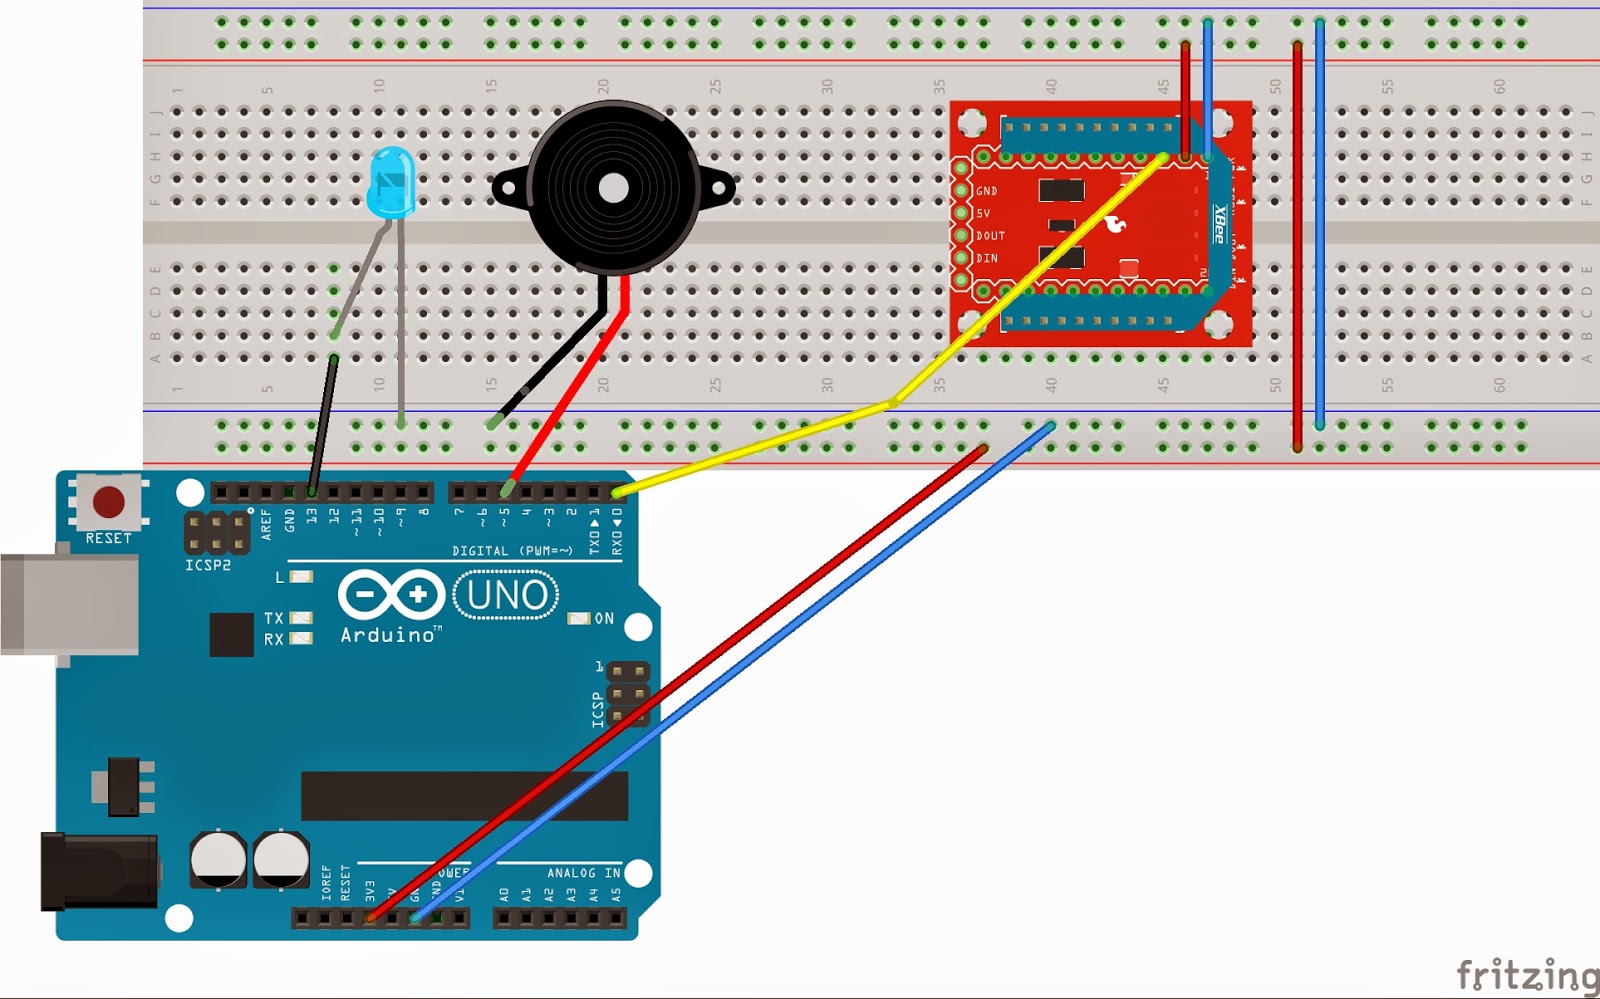 |
| Figure 11: Circuit part 2 |
Code Part 2: Sender [5]
 1
 2
 3
 4
 5
 6
 7
 8
 9
10
11
12
13
14
15
16
17
18
19
20
21
22
23
24
25
26
27
28
29
30
| #! /usr/bin/python
from xbee import ZigBee
from array import *
import serial
import time
from datetime import datetime
ser = serial.Serial('COM4', 9600)
xbee = ZigBee(ser, escaped=True)
while True:
try:
input = raw_input('Enter your letter:')
for c in input:
tstart = datetime.now()
xbee.send('tx',
frame_id='A',
dest_addr_long='\x00\x13\xA2\x00\x40\x8B\x45\xC8',
dest_addr='\xFF\xFE',
data=c)
response = xbee.wait_read_frame()
tend = datetime.now()
print c
print tend-tstart
time.sleep(2)
except KeyboardInterrupt:
break
ser.close()
|
Code Part 2: Morse Player
  1
  2
  3
  4
  5
  6
  7
  8
  9
 10
 11
 12
 13
 14
 15
 16
 17
 18
 19
 20
 21
 22
 23
 24
 25
 26
 27
 28
 29
 30
 31
 32
 33
 34
 35
 36
 37
 38
 39
 40
 41
 42
 43
 44
 45
 46
 47
 48
 49
 50
 51
 52
 53
 54
 55
 56
 57
 58
 59
 60
 61
 62
 63
 64
 65
 66
 67
 68
 69
 70
 71
 72
 73
 74
 75
 76
 77
 78
 79
 80
 81
 82
 83
 84
 85
 86
 87
 88
 89
 90
 91
 92
 93
 94
 95
 96
 97
 98
 99
100
101
102
103
104
105
106
107
108
109
110
111
112
113
114
115
116
117
118
119
120
121
122
123
124
125
126
127
128
| #include <XBee.h>
// Pins
const int ledPin = 13;
const int buzzerPin = 5;
/**
* Morse Codes
* "s" for short (.), "l" for long (-)
*/
const char longNote = 'l';
const char shortNote = 's';
// Morse code for Alphabet
const String letter[26] = {
"sl","lsss","lsls","lss","s","ssls","lls","ssss","ss","slll","lsl",
"slss","ll","ls","lll","slls","llsl","sls","sss","l","ssl","sssl","sll","lssl","lsll","llss"};
// Morse code for Numbers
const String number[10]= {
"lllll","sllll","sslll","sssll","ssssl","sssss","lssss","llsss","lllss","lllls"};
/**
* XBee objects
*/
XBee xbee;
XBeeResponse response;
// create reusable response objects for responses we expect to handle
ZBRxResponse rx;
void setup()
{
Serial.begin(9600);
pinMode(ledPin, OUTPUT);
pinMode(buzzerPin, OUTPUT);
xbee = XBee();
response = XBeeResponse();
rx = ZBRxResponse();
flashLed(ledPin, 10, 50);
}
void loop()
{
// 1. This will read any data that is available:
xbee.readPacket();
if (xbee.getResponse().isAvailable())
{
if (xbee.getResponse().getApiId() == ZB_RX_RESPONSE)
{
xbee.getResponse().getZBRxResponse(rx);
Serial.println(rx.getData(0));
playCode(rx.getData(0));
}
}
}
// Flash the LED for certain number of times and delay between flashes
void flashLed(int pin, int times, int wait)
{
for (int i = 0; i < times; ++i)
{
digitalWrite(pin, HIGH);
delay(wait);
digitalWrite(pin, LOW);
if (i + 1 < times)
{
delay(wait);
}
}
}
// Play the required tone for the char or int transmitted
void playCode(int ASCII_value)
{
int intValue = ASCII_value - '0';
// Integer read
if (intValue >= 0 && intValue <= 9)
{
String toPlay = number[intValue];
Serial.println(toPlay);
for (int i = 0; i < toPlay.length(); ++i)
{
Serial.println(toPlay[i]);
if(toPlay.charAt(i) == longNote)
largeTone();
else if(toPlay.charAt(i) == shortNote)
shortTone();
}
}
else // Char (A-Z) read
{
String toPlay = letter[ASCII_value-65];
Serial.println(toPlay);
for (int i = 0; i < toPlay.length(); ++i)
{
Serial.println(toPlay[i]);
if (toPlay.charAt(i) == longNote)
largeTone();
else if (toPlay.charAt(i) == shortNote)
shortTone();
}
}
}
void largeTone()
{
delay(50);
digitalWrite(ledPin, HIGH);
analogWrite(buzzerPin, 2000);
delay(500);
digitalWrite(ledPin, LOW);
analogWrite(buzzerPin, 0);
}
void shortTone()
{
delay(50);
digitalWrite(ledPin, HIGH);
analogWrite(buzzerPin, 2000);
delay(100);
digitalWrite(ledPin, LOW);
analogWrite(buzzerPin, 0);
}
|
References
[1] Python software and libraries, retrieved from: https://www.python.org/
[2] XBee library for Arduino, retrieved from: https://code.google.com/p/xbee-arduino/
[3] Code for activate/desactivate D1 port on the receiver side by Jaume Barceló and Luis Sanabria
[4] International Morse Code, retrieved from: http://en.wikipedia.org/wiki/Morse_code
[5] Version of the code "modified3-blink-LED", by Jaume Barceló and Luis Sanabria


cami avizesi - no deposit bonus forex 2021 - takipçi satın al - takipçi satın al - takipçi satın al - takipcialdim.com/tiktok-takipci-satin-al/ - instagram beğeni satın al - instagram beğeni satın al - google haritalara yer ekleme - btcturk - tiktok izlenme satın al - sms onay - youtube izlenme satın al - google haritalara yer ekleme - no deposit bonus forex 2021 - tiktok jeton hilesi - tiktok beğeni satın al - binance - takipçi satın al - uc satın al - finanspedia.com - sms onay - sms onay - tiktok takipçi satın al - tiktok beğeni satın al - twitter takipçi satın al - trend topic satın al - youtube abone satın al - instagram beğeni satın al - tiktok beğeni satın al - twitter takipçi satın al - trend topic satın al - youtube abone satın al - instagram beğeni satın al - tiktok takipçi satın al - tiktok beğeni satın al - twitter takipçi satın al - trend topic satın al - youtube abone satın al - instagram beğeni satın al - perde modelleri - instagram takipçi satın al - takipçi satın al - instagram takipçi satın al - betboo
ReplyDeletemmorpg oyunlar
ReplyDeleteinstagram takipçi satın al
Tiktok Jeton Hilesi
TİKTOK JETON HİLESİ
Sac Ekimi Antalya
instagram takipçi satın al
metin2 pvp serverlar
instagram takipçi satın al
En son çıkan perde modelleri
ReplyDeleteSMS ONAY
Turkcell Mobil Ödeme Bozdurma
nft nasıl alınır
ankara evden eve nakliyat
trafik sigortası
dedektör
web sitesi kurma
Ask kitaplari
Smm panel
ReplyDeleteSmm Panel
İs ilanlari
instagram takipçi satın al
hirdavatciburada.com
beyazesyateknikservisi.com.tr
Servis
tiktok jeton hilesi
ataşehir mitsubishi klima servisi
ReplyDeletemaltepe vestel klima servisi
kadıköy vestel klima servisi
çekmeköy samsung klima servisi
ataşehir samsung klima servisi
çekmeköy daikin klima servisi
ataşehir daikin klima servisi
maltepe toshiba klima servisi
kadıköy toshiba klima servisi